How to create Sensational Sand Sculptures!
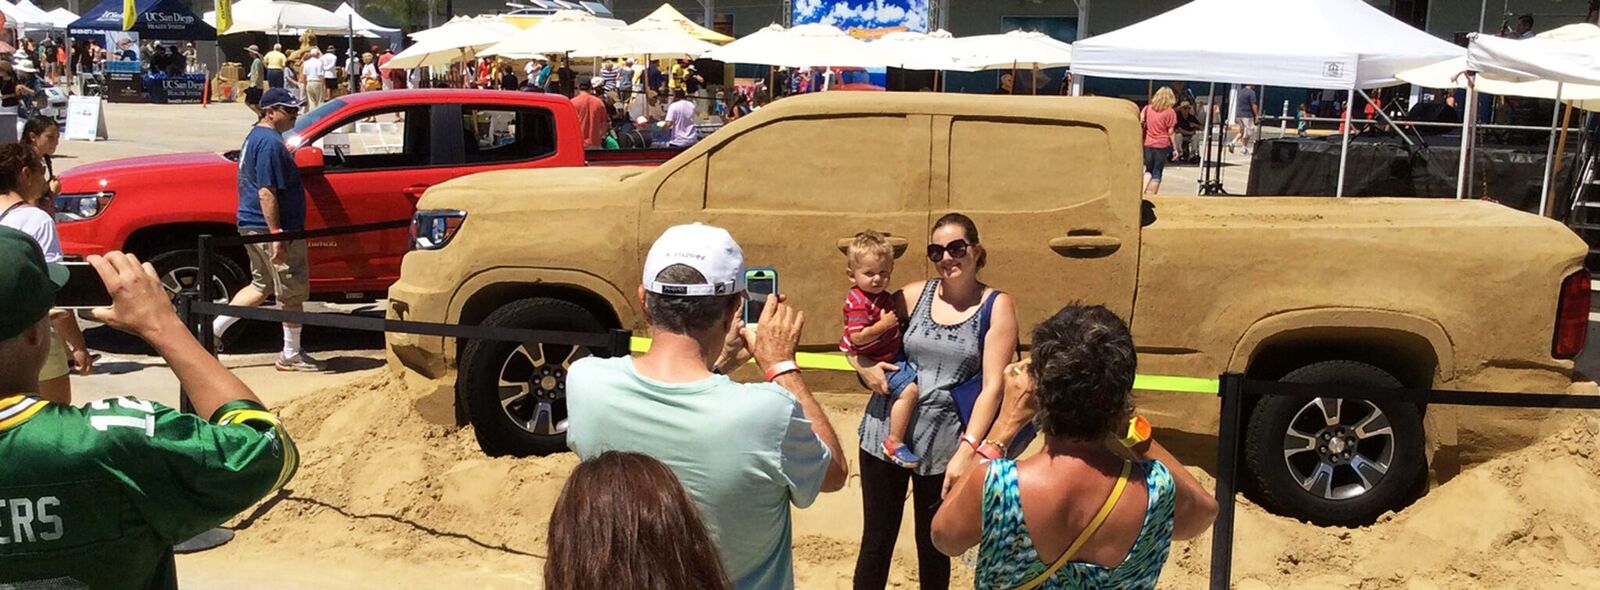
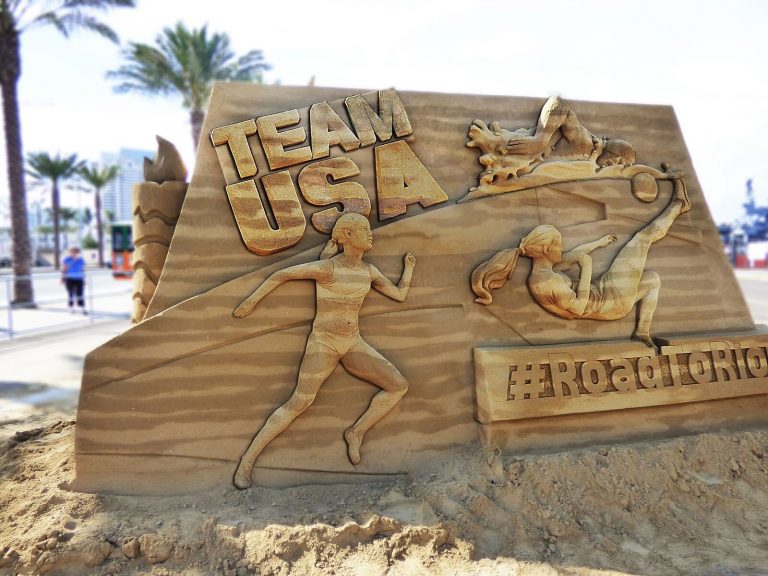
Ever wonder how artists can transform dry, flaky sand into works of art? Well, it’s a lot of patience, love, endurance, knowing the right steps and what to use from start to finish.
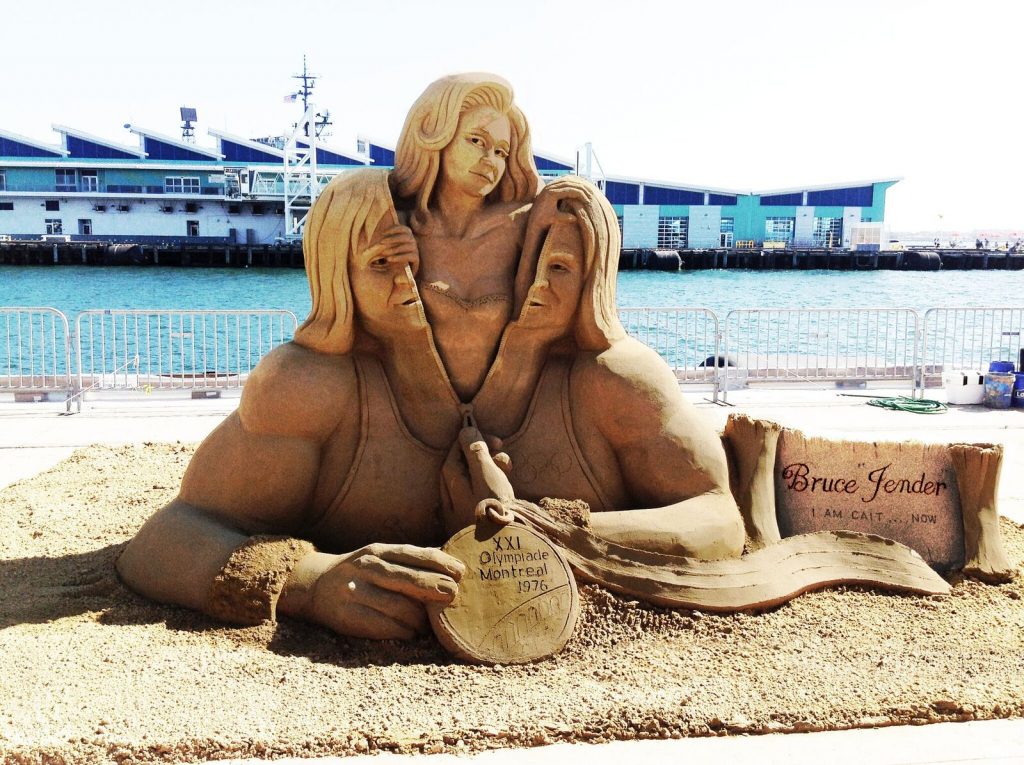
After finding your muse and inspiration of what you want to sculpt, you have to first choose your sand.
Choosing Sand
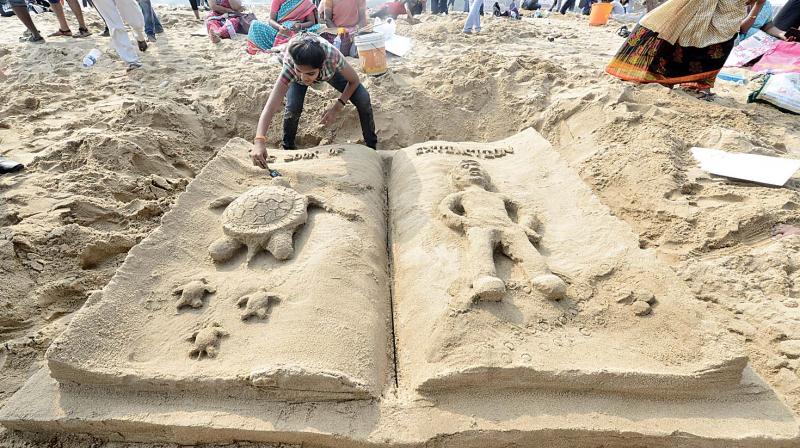
If you plan to have your sculptures up just for the day, beach sand is an easy way to go because it’s free, accessible and quick to use.
However, for competitions such as the Sand Sculpting Challenge here in San Diego, you need a solid foundation that will last for a while; you are going to need heavy sand. You can identify heavy sands by their grains; they are square shaped allowing them to stick together which makes it easier to build on.
Tools the Artists Use
The Five-Gallon Bucket:
Alm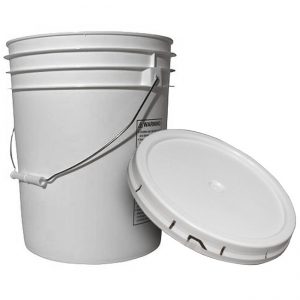 ost all sand sculptures use large buckets to help construct the foundation of their sulpture. You will need these to make your sand wet and keep it that way.
Work Gloves:
It's 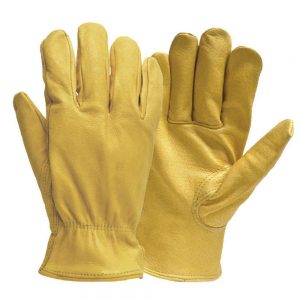 a simple tool that some artists forget. Working hours on end, moving sand, water, packing a paste can lead to blisters and raw fingers. Especially in competition settings you have to keep working, so good gloves help avoid disasters.
A Trowel:
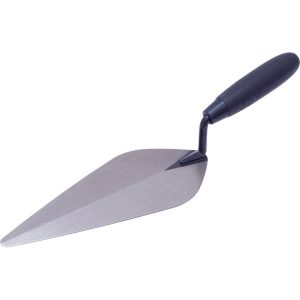 You might recognize this tool from gardening, but it is also great for carving out a shape and fine-tuning details because of it's shape and handle. You will see most artists using this tool.
Cake-icing Spreader:
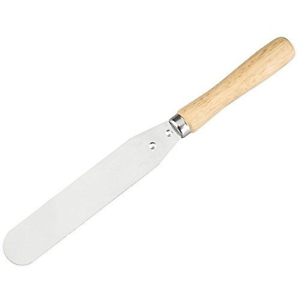
It's not just for cakes people! A cake-icing spreader is small and delicate enough making it a perfect tool for precise detail and carving out your design.
Find more tools at The Ultimate Sand Castle Toolkit
Mixing & Packing Your Sand
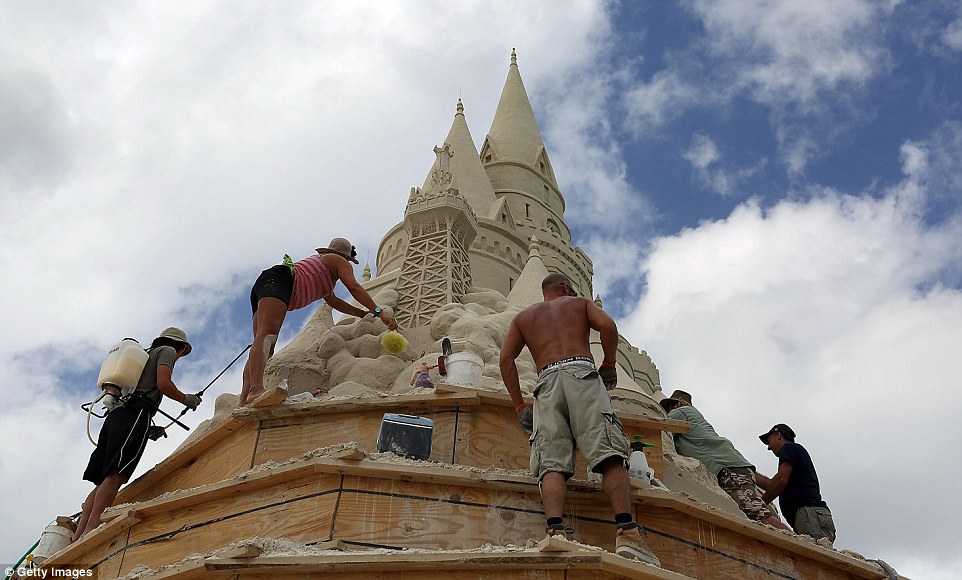
This might sound easy, but to most artists, this is one of the most important steps. To get heavy sand that is going to stay up you need to mix it with water to create a solid compact. If you leave any dry patches, this can later destroy your sculpture and cause it to topple over . . . start mixing!!
