A Step-By-Step Guide for Admitting People into Your Event
It’s the day of the big event and it’s up to you to make sure the admissions process goes smoothly.
If you haven’t planned out your "opening-gate" strategy yet, don’t worry because this article will give you an outline you can use to create a plan that works for your event.
Knowing these steps can help you efficiently admit attendees and avoid oversights in the process. Consider using the following information to help guide you for a smooth admissions process.

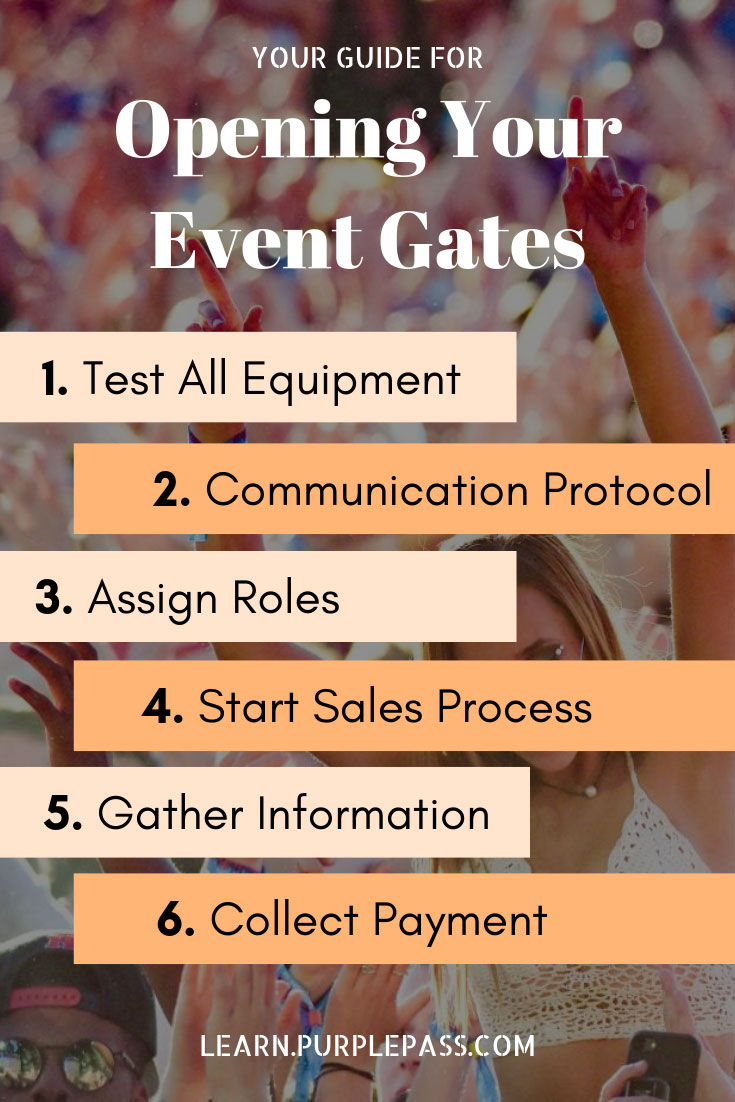
Step 1: Test all equipment
Before the day of the event, make sure that all of the equipment that is needed to run the admissions processes is connected and working properly.
Do a preliminary test on each piece, make sure everything is fully charged and have backups on standby in case of a malfunction.
|
24/7/365 Support Purplepass not only takes your calls, but your customers as well. |
In addition, make sure that any supplies needed (receipt paper, charging cords, card swipes, etc.) are stored close to the equipment for quick changes.
It is also recommended to do a test on the internet connection/onsite server the day before and the day of the event. Equipment you will need may include:
- Printers
- Scanners
- Box office/POS terminals
- Internet and onsite servers
- Cash Drawers
- Credit Card Swipes
- Walkie Talkie (communication source)
Step 2: Create a clear communication protocol
Make sure that clear communication with each team member and management is a priority. Before the event, be certain that everyone has had the proper training and preparation; the entire staff needs to be aware of the communication protocol.
This is the plan set in place for staying in touch throughout the event.
Everyone should know who and how they contact when there is a situation at hand, and you should also identify the different situation levels and who they contact for each one of those.
In addition, always make sure everyone has the same information and outline a reliable method to keep communication lines open.
A proper protocol will also make contacting each other fast and efficient while the event is going on.
Step 3: Designate an admissions leader
Having a specific individual designated to oversee the admissions process and handle any issues will benefit not only the team, but the guests.
|
Onsite help is available upon request Want someone from Purplepass to run your gate? |
This person will act as the acting supervisor of all things admissions; they can coordinate and make adjustments, as well as handle guest issues while allowing the other team members to focus on their jobs to keep the lines moving.
Step 4: Create a smart event gate
When greeting guests at the gate, you will encounter two types of customers; (1) those who purchased and prepaid for their tickets and (2) those who need to purchase their ticket at the gate. Those who have their tickets already can have them scanned and be let into the event without hassle.
Those who have yet to purchase their tickets will have to undergo a few more steps before they can enter the event which is outlined in the remaining steps.
Consider having a separate line for guests who have already paid to keep the flow of traffic moving smoothly.
Step 5: Gather guest info and ticket preference
Gathering guest information at the gate is a highly beneficial strategy for future marketing efforts and can help gather more leads for future events, as well as tailor the guest experience according to Business News Daily.
Some guests may opt to not provide their information, but don’t let that deter you from trying.
You will have to collect certain information for payment purposes, but try to get their email if possible.
Don’t forget to upsell VIP tickets if available and know what the guests options are beforehand so they can decide which tickets work best for their needs.
Step 6: Collect their payment
Payment collection should be quick and easy. It is wise to have a variety of methods to collect a payment.
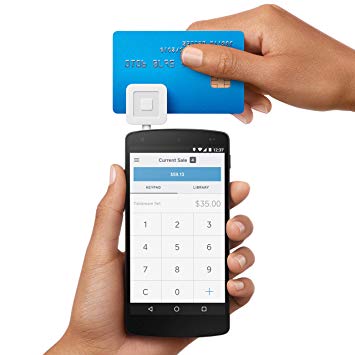
You can use a POS system with built-in card readers, collect cash, and even mobile credit and debit apps that connect to a mobile payment devices.

If you don’t accept certain forms of payment, you should let guests know ahead of time and post it to the admissions gate.
|
How do you want to manage your payments? Create your own merchant account with Purplepass, |
Step 7: Give the guests a ticket and receipt
Once you have collected the information and payment from the guest, you can then print out or email the receipt and give them their ticket, moving on to the next guest.
Depending on your event, you might have a few options for the type of ticket material; wristbands, physical tickets, mobile, printed receipt.
It's up to you!
Follow these steps to help you reduce issues related to ticket purchases the day of the event.
If you can streamline the ticket sales process, it will elevate the guest experience and improve the chances of having repeat business. For more tips related to ticket sales and strategy subscribe to our blog below.


